The Ultimate Guide To A Beautiful Dining Room

Take the Stress Out of Design One step at a time
Is your dining room looking a little tired? If your dining room is anything like mine, it has morphed into that extra space to dump the things you don’t know where to put. Sound familiar?
Or maybe you want to start fresh or add a seasonal look, but don’t have the time or budget to go full Martha Stewart on your dining room. Not to worry! I’m sharing top designer-tested tips on how to revamp your dining room like a pro quickly, and without breaking the bank.
We’re going to walk through an easy step-by-step process to transform your space into the dining room of your dreams successfully and without all the stress. Life’s hard enough, decorating should be the fun part! Let’s hop in and get started!
Step 1 – Clear the Table
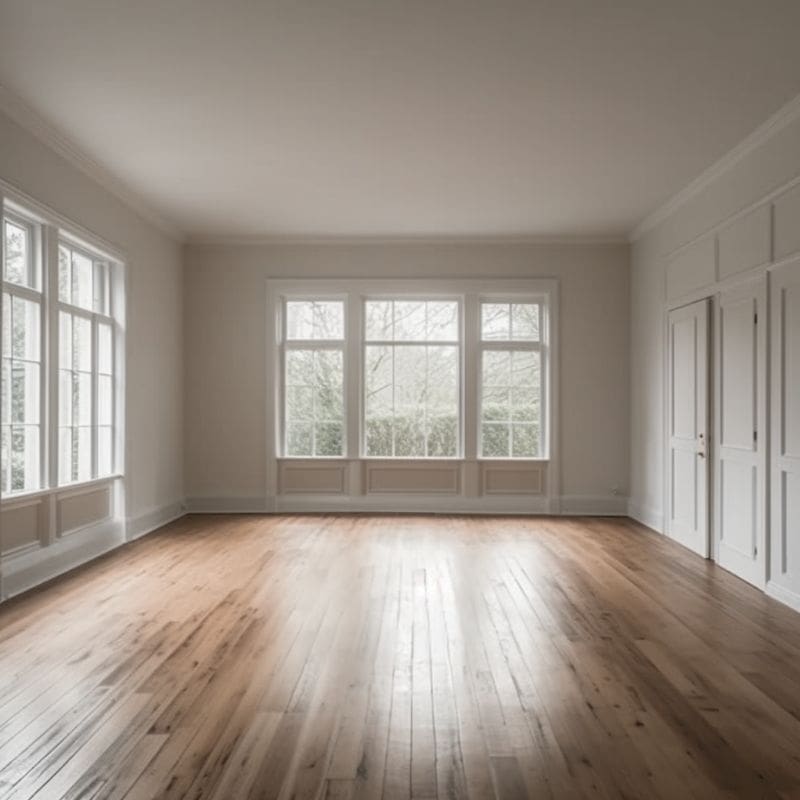
Okay, I mean this figuratively, for now. We’ll get to cleaning the actual dining table later. The first step to any successful project is to clear out anything you can from the room and start fresh. It is so hard to see all of the wonderful new possibilities for your room when it’s cluttered with all of that old stuff.
When I start a project, I like to take about 30 minutes to an hour to clear out as much as possible. The goal is to have a completely empty room. If you can’t do that, then as my mother says,”Be brutal” and try to get as much out so you can see the space accurately.
I’m talking more than just clearing clutter off of tabletops. This is your chance to go through the buffet drawers, chuck that ugly china set you never use, toss that old dated rug, and even let go of grandma’s dusty curioso cabinet that sticks out like a sore thumb, but you feel obligated to keep.
News flash, you aren’t, and I am personally giving you permission to let go of family inherited pieces if they don’t work for you. I promise grandma wants you to be happy, and that cabinet will be perfect for someone else. Think of this as an opportunity to let go of things you no longer need, so you can go shopping and get new stuff, duh! That’s a win/win in my book.
But seriously, I can’t tell you how many times this has changed the game for me. Take a deep breath, and let go, donate, thrift, or pass on anything that no longer sparks joy. I promise you will feel like you lost actual weight after this, and you now have a beautiful open space to work with.

Step 2 – How Will You Use Your Dining Room?
This is a huge question that I don’t think gets asked enough. There is this weird cultural design stereotype that every house must have a “formal dining room.” But do we really live that way?
Will having a formal dining room regulate a very prominent, valuable space to be another room you just walk by that collects dust or acts as a catchall? Design should work for you, and reflect how you actually live. I would encourage you to ask yourself the following questions before we dive into our next decorating steps:
Don’t worry about the design, colors, or furniture just yet. Understanding how you want to use the room will guide your design selections in a much quicker and focused way than just forging ahead without a clear vision.
Step 3 – Gather Inspiration Images
You wouldn’t give a speech or a presentation unprepared, would you? No, of course not, that’s giving 3rd grade book report flashbacks and night sweats. You’d research your topic, have a plan or outline, and make sure you walk in knowledgeable and confident.
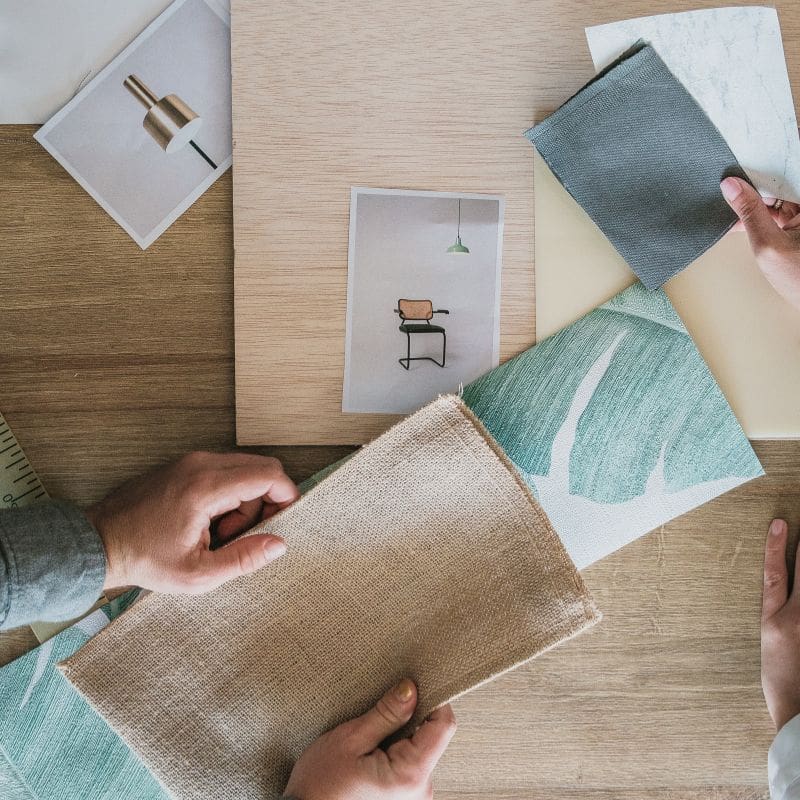
The same tactics apply when starting a decor project. Now that you know how you want to use your dining room, hop on Pinterest, Instagram, or grab some home decor magazines from the grocery store and start gathering some images that feel right for you and your home. The more images you have, the clearer the picture for your new dining room comes into focus.
Your inspo images should match how you want to use your room, or point out a specific detail, like a wallpaper or light fixture, that you’d like to incorporate.
If you want a casual room that is used daily by 4- 6 people, pull images that reflect rooms like that. If you want a formal dining room with all the trimmings that needs to fit large groups, make sure these looks are achievable for your space.
This will get you to start thinking about color palettes, lighting options, furniture styles, and what looks would really make your room shine.
Pro Tip:
Every designer pulls inspiration images before presenting a plan to a client. Good designers will even ask clients to share their Pinterest boards if they have them, or any images the client has in mind so they make sure their design plans match their clients’ goals.


Step 4 – Measure Your Space
It turns out that what you don’t know can actually hurt you, and end up being an expensive mistake. So before we start shopping for new goodies, we definitely need to know what your room is capable of fitting.
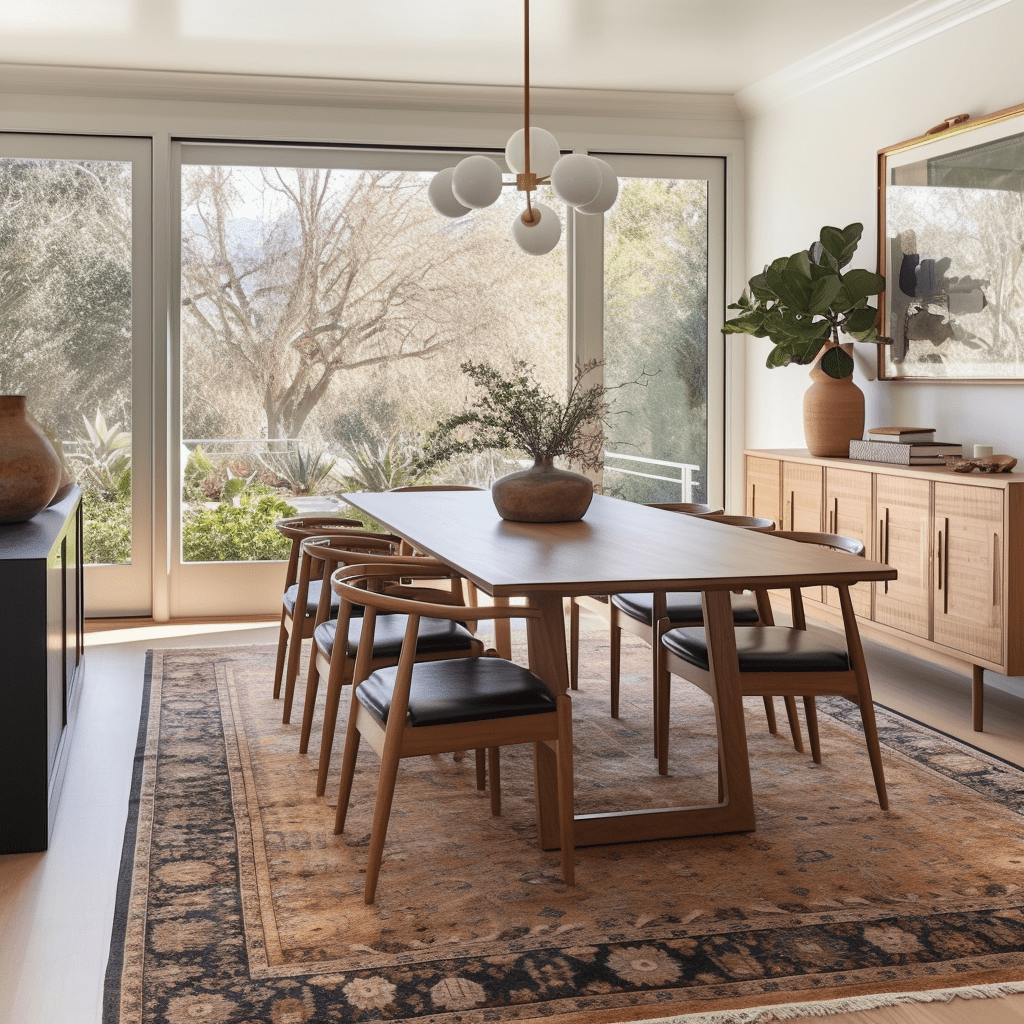
Here are some quick measurements you’ll need to guide your dining room glow-up. Make an outline drawing of your room. This doesn’t need to be a masterpiece, but it does need to accurately reflect the shape of your room and where any doors or windows are.

Draw a simple outline of your dining room
Measure the Length & Width of Your Dining Room
Why?
Measure the Height of your ceiling
Why?
Note where any doors are
Why?
Mark where the windows are
Why?
Measure Where Any Outlets Are
Why?
Measure Where existing light fixtures or wall sconces are
Why?
Pro Tip:
Outlets are tough, and a constant source of frustration for designers.
If you have limited outlets, or can’t place your furniture near or in front of them, there are handy wire cover kits like this one, that will help you neatly cover the distance. Plus the covers can be painted to match your wall color for extra camouflage.

step 5 – Lay the foundation
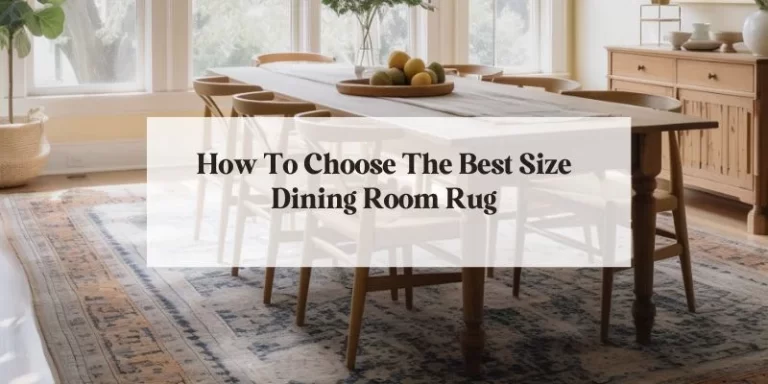
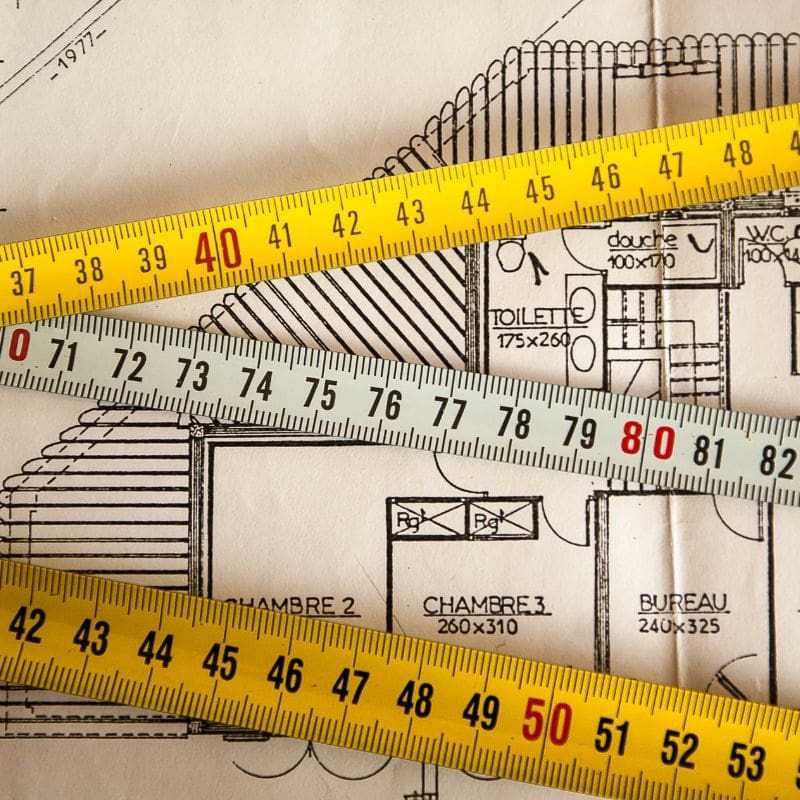
Woohoo! You’ve done the necessary, but not-so-glamorous prep work and it’s time for the fun stuff! Any beautiful dining room, casual or formal, deserves a great foundation. The dining room rug acts as a visual grounding zone and helps delineate the dining room table and chairs from the rest of the room. So how do you go about picking the right size, color, and texture? Excellent questions. Here are some tips on picking the right dining room rug.
Related Article: “How To Pick The Best Dining Room Rug“
Leave Room Between the Wall & The Rug
If you have the space, leave about 18-24” minimum between the edge of your rug and the wall.
Remember those room measurements we just took? Subtract about 2’ from the length and width, and that will be the maximum size rug you can shop for.
Why? Most other dining room furniture like buffets, sideboards, or cabinets will fit in this gap. You don’t want a rug that is too small for your space, but you also don’t want a rug that overwhelms it either. This measurement is a happy medium, and a design standard.
Get the full tutorial on dining room rugs sizes with our post, “How To Choose The Best Dining Room Rug Size” for a full step-by-step guide on what rug fits best in your room and for your dining table.
Grounding Colors
Ah, the wonderful array of rug options are a modern day blessing and a curse. Don’t get caught in the Bermuda triangle of indecision. Remember those inspirational images you pulled? Now’s the time to put those bad boys to use.
Browse through your inspo images and pull the ones that stand out to you the most. Why do you like them? Is it the colors? The style? Note what attracts you most and look for rugs that match that vibe.
Rug Style questions:
Pro Tip:
Here’s a funny, and not-well-known designer trick. Most designers start with selecting the rug before they pick any wall color, dining table, or light fixture.
Why do they do this? Rugs have a much more limited color palette than paint. It is waaay easier to match a wall paint to your rug, than trying to match the rug to your paint.
Designers do this first because the rug will be the guide for all of your other color and style decisions including wall paint, wallpapers, chair fabrics, and other accent decor.
Step 6 – Dreamy Dining Room Color Palettes
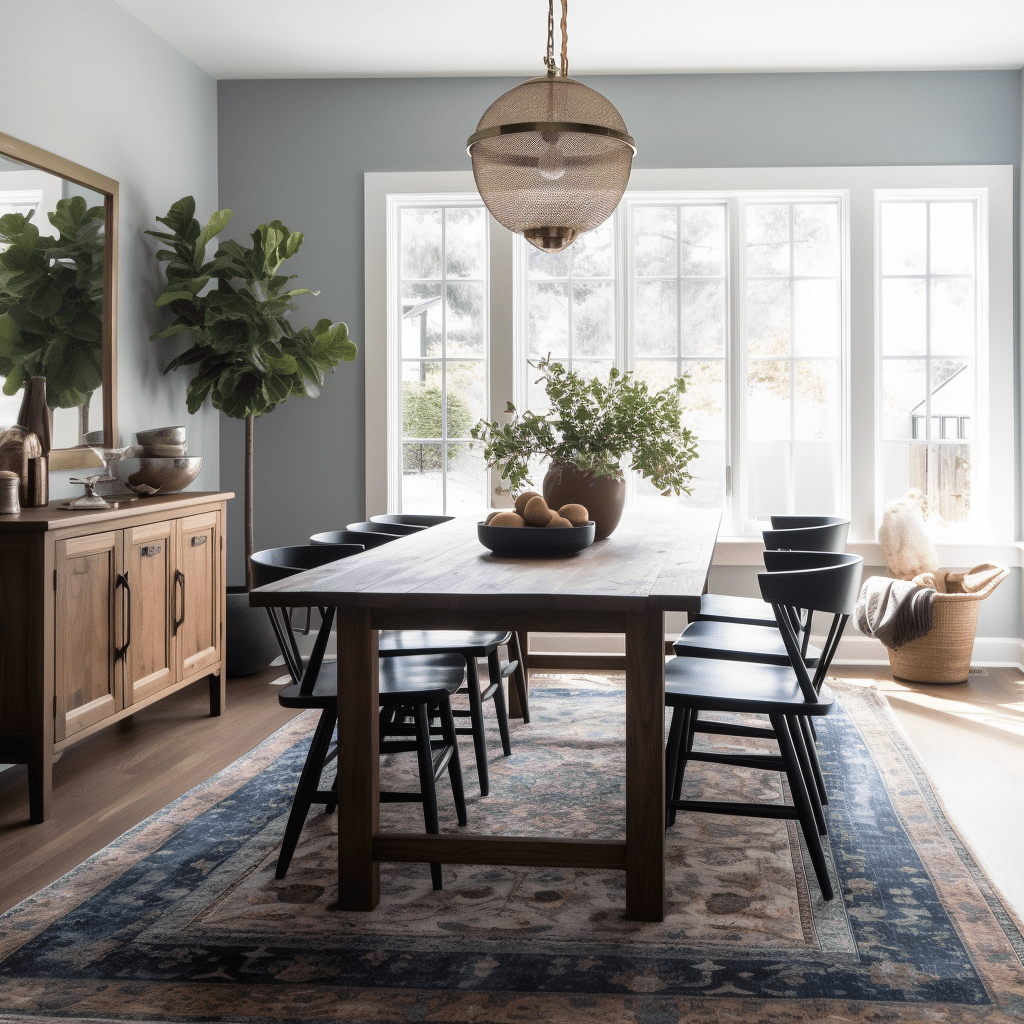
The two main factors when choosing your wall color are your rug, and your windows. You didn’t think I’d say that, did you? But it’s true! Your rug will help guide your color choices. Your windows will tell you how much natural light you have, and help determine how light or dark your color should be.
Your rug will be the main guide when selecting your wall color. Look closely at your rug and make note of the colors you see. Lean towards the accent colors in the rug instead of the main color. If your rug has a lot of blue in it, but also has touches of soft greens, a pretty light green would make the room look beautiful, while adding more blue to the space could be overwhelming.
How many windows are in the room?
How large are they?
What direction they face?
These three questions are important factors in choosing how light or dark to go with your color. Deep shades are dramatic and alluring, but if you don’t have some natural light to balance the color out in the day, it can look like a dark cave.
On the other side of that coin, if you have abundant light, you’ll want to avoid a super white or extremely bright color that could be blinding when the sun is strongest. A softer, tonal shade will help mitigate intense light.
Related Article: How Lighting Affects Your Paint Color And How To Fix It
What Direction Is Your Window Facing?
North Facing Light
South Facing Light
East Facing Light
West Facing Light
Check The LRV
What in the world is LRV? LRV stands for “Light Reflective Value.” LRV is a technical paint term that paint companies use to describe how light or dark a paint color is.
Every paint color has an LRV that refers the the percentage of light a paint color reflects. This percentage is measured from 0% (pure black) to 100%(pure white). Check the back of your paint sample for a little number or the company’s website to see what your paint color’s LRV is. The higher the number, the brighter/lighter it is.
Related Article: Wall Color 101: How To Use A Paint Swatch Like A Pro
Less is More
You might fall in love with the perfect color on your paint swatch, but then be overwhelmed once you get it painted on all four walls. If you find a color you love, consider choosing from the top two lightest swatches on the same paint strip.
Color reflects light, bounces off itself, and becomes more intense when spread over an entire room. Be sure to sample first, but most often you’ll get your dream color by going a shade or two lighter and avoid having to repaint over a harsh misstep.
For more in-depth detail on picking the perfect paint color, check out our handy post on “Expert Guide To Nailing The Perfect Dining Room Color.”
Step 7 – Select The Right Dining Table
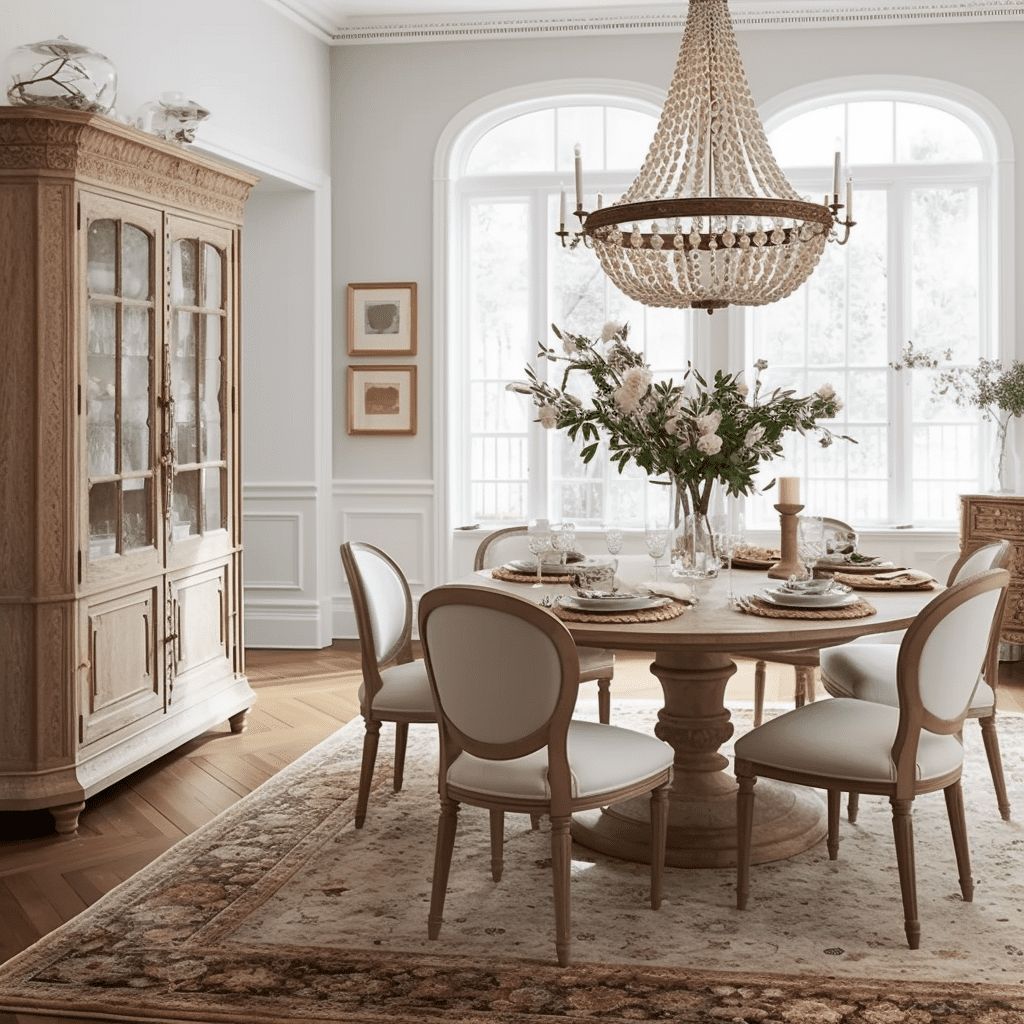
Now that you have a clean space, your measurements, your rug and your wall color. It’s time to select your dining table. The very first thing to think about is your room measurements. You need 3’ of open space around each side of your table to allow people to comfortably pull back their chairs and get in and out from the table with ease.
This includes any furniture you will have in the room. If you have a buffet table on one side of the room, measure 3’ out from the buffet table. Here’s a quick way to determine the best table size for your room.
Dining Room Length – 3 ft = _______.
Dining Room Width – 3 ft. = _______.
Example: If your room is 9 ½’ x 12’, your maximum table size is 72” x 40”.
West Elm has an excellent guide on table sizes.
Consider Your Guests
Next, consider how many people will be seated at the table? Does this number change often? If you have 4-6 people regularly, but entertain often and need more seating, look for tables that can be extended with additional table leaves.
Leg Room
Okay, it’s time to think about…legs. No, we’re not eyeing grandma’s new knickers. But no one likes struggling to sit comfortably or playing footsie with the dining table. In general, people need about 12” – 15” of leg room from the edge of the table towards the center.
When setting the table, guests need about 24” per place setting for comfortable elbow room.
All About That Base
When searching for your dream dining table, make sure to notice the base. Can you and your guests pull up to the table comfortably?
Pedestal Base
Tables with center or pedestal bases keep the leg area clear. Pedestal base tables can range from very traditional to ultra modern styles. Pedestal tables have the most open leg area.
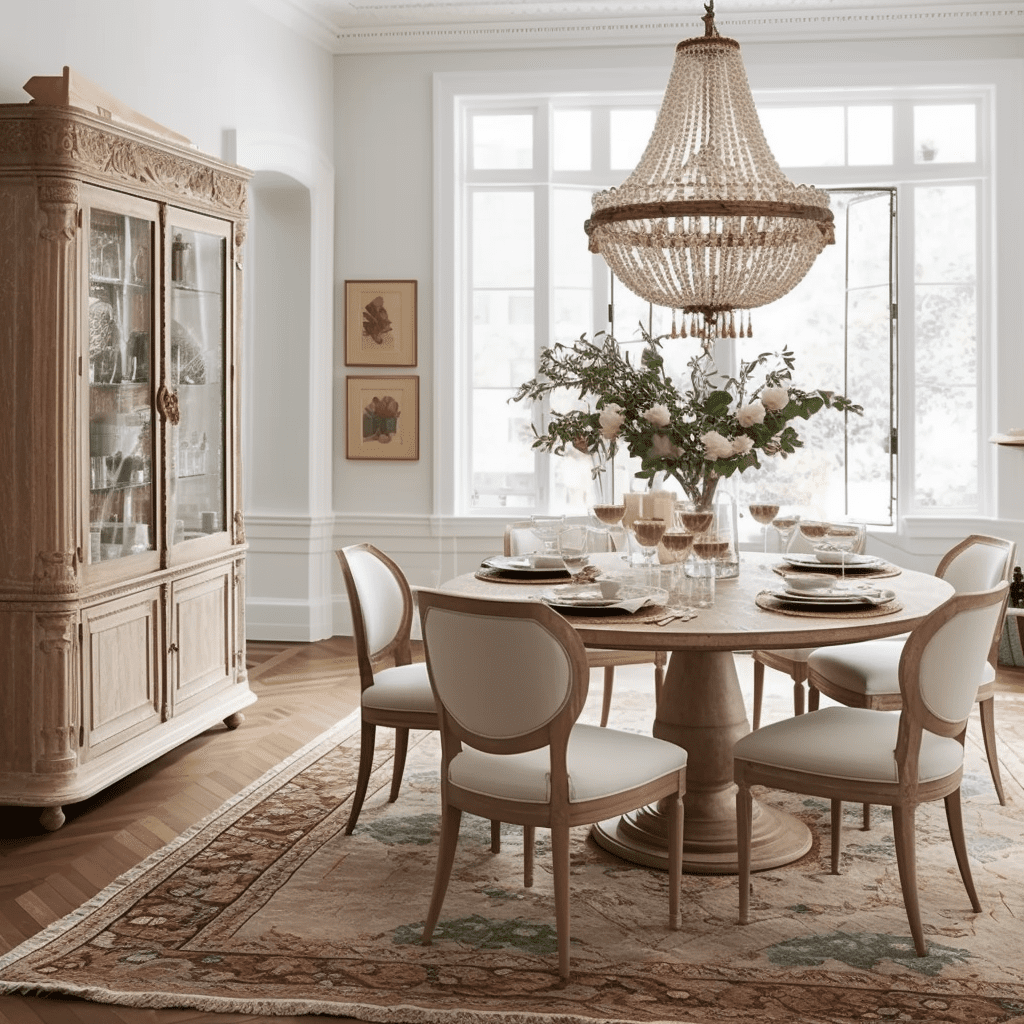
Table bases can eat into the legroom of the people sitting on either side of the bases. That means that the only people really enjoying adequate legroom are the people sitting in between the bases.
I don’t know about you, but if my guests are going to complain, I’d rather it be about my cooking than my dining table.
Parsons Table
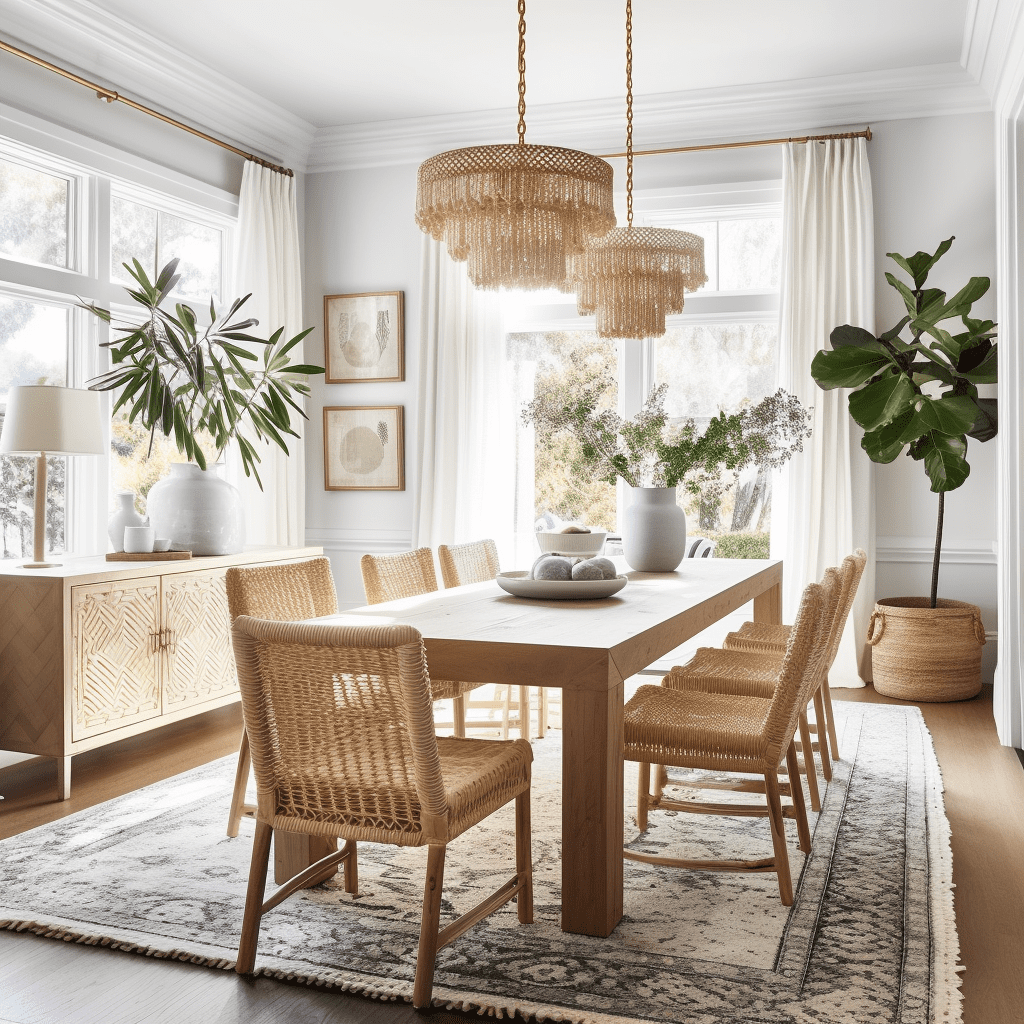
A parson style table places the support legs at the very end corners. This style table has a timeless transitional look, and keeps most of the leg room free with a very minimal footprint.
Designer Don’t
Maybe I’m biased, but I do not like to use glass top tables in dining or kitchen areas. They can get easily scratched by serving ware, and you will constantly be cleaning off little fingerprints and dust.
Step 8 – Dining Chairs That Work
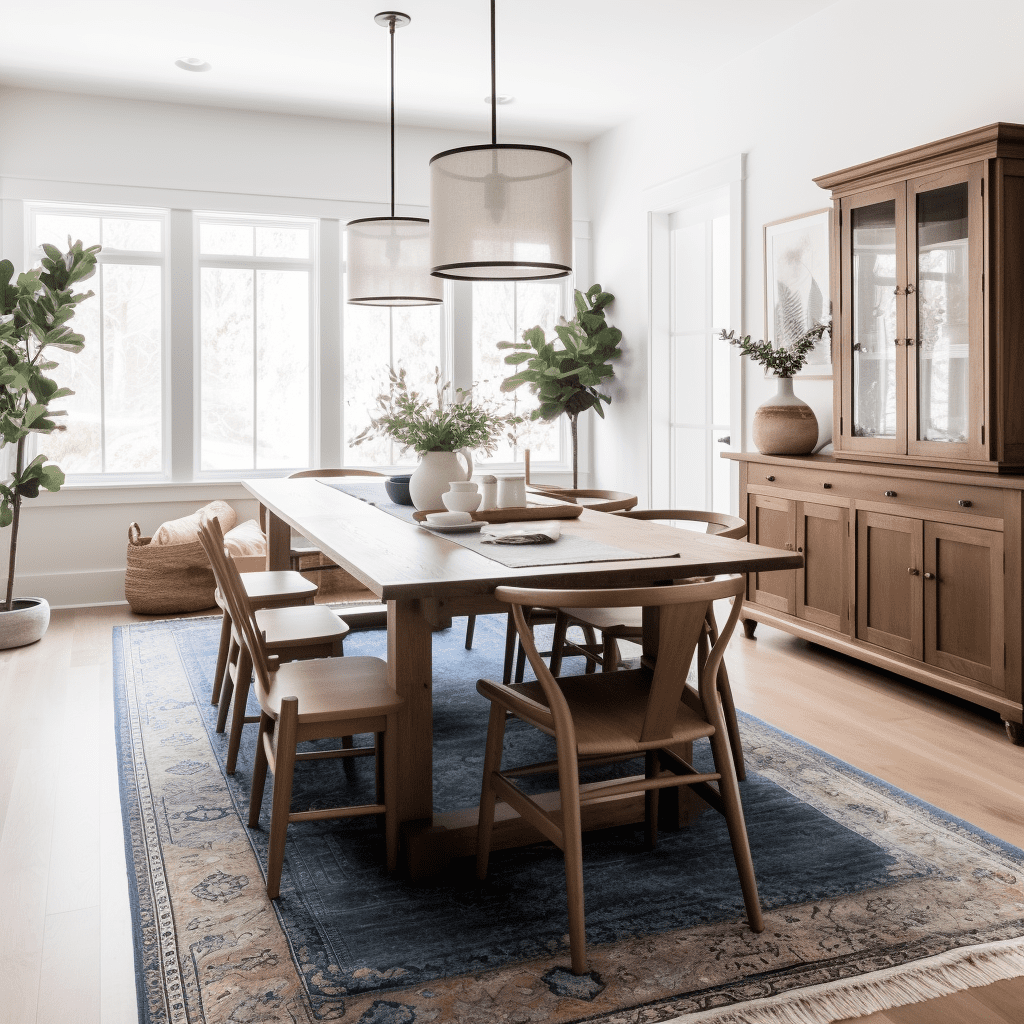
You might be thinking, “I’ll just get the matching chairs that go with the table. Then I’m done!” I mean…you can, but I would encourage you to not fall into the trap of matching your table and chairs. Design is so much more interesting than that. This is where you get to be creative and build a layered, sophisticated room.
So how do you pick chairs that look like you hired a professional designer? Here are some simple guides to finding a great set of chairs that you’ll love for years.
Switch Up Materials
If you have a stained wood table, consider chairs that have a metal frame or a painted wood frame. If you have a painted table, consider using fully upholstered chairs.
Mix Styles
Try pairing a modern or transitional table with mid century style chairs. You can also add a bench on one side for extra seating.
The key here is to pick chairs that are close, but have some small difference in the design details.
Comfort Is Key
Now that we have a general idea of the style, let’s talk about the most important design detail of all, comfort. Yes, having stylish chairs is important, but if your chairs are uncomfortable, your guests won’t stay long, and you won’t want to use your dining room after a while.
Here are a few quick guides to finding comfortable chairs.
Seat Height
Seat Depth
Chair Width
Sit Test
Step 9 – Shine Your Light
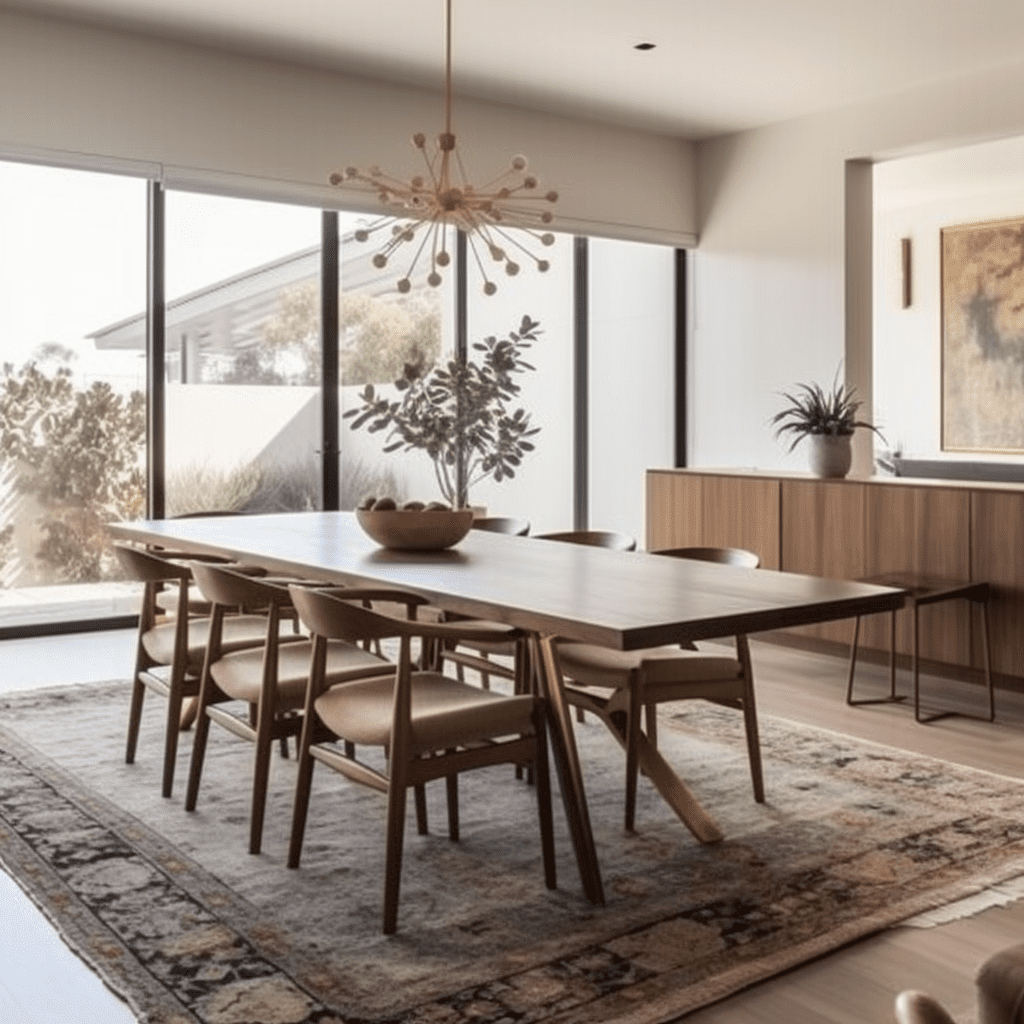
It’s really coming together now! It’s time to add what I like to call, “the jewelry of the room,” aka, your dining room light fixture. Your light fixture can make or break all of your hard work thus far. It needs to be beautiful, but not overwhelming.
It needs to set a gorgeous ambiance, but not be so dim that you can’t see your food, or so bright that you need sunglasses at night. It’s kind of like Goldilocks, but for design, right?
Here are three factors to think about when selecting your dining room light fixture
Dining Room Light Fixture Size
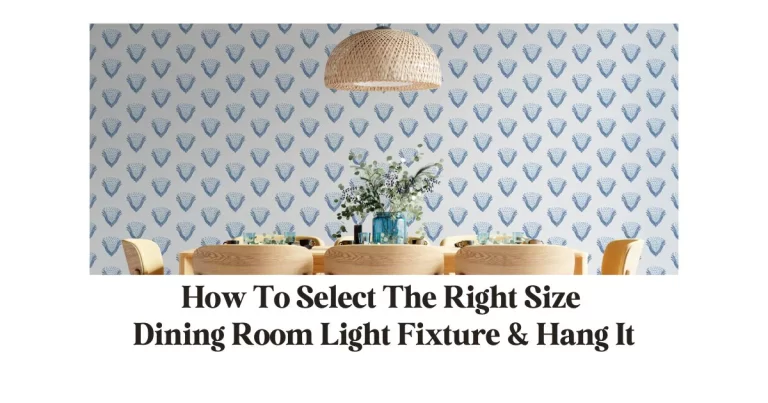
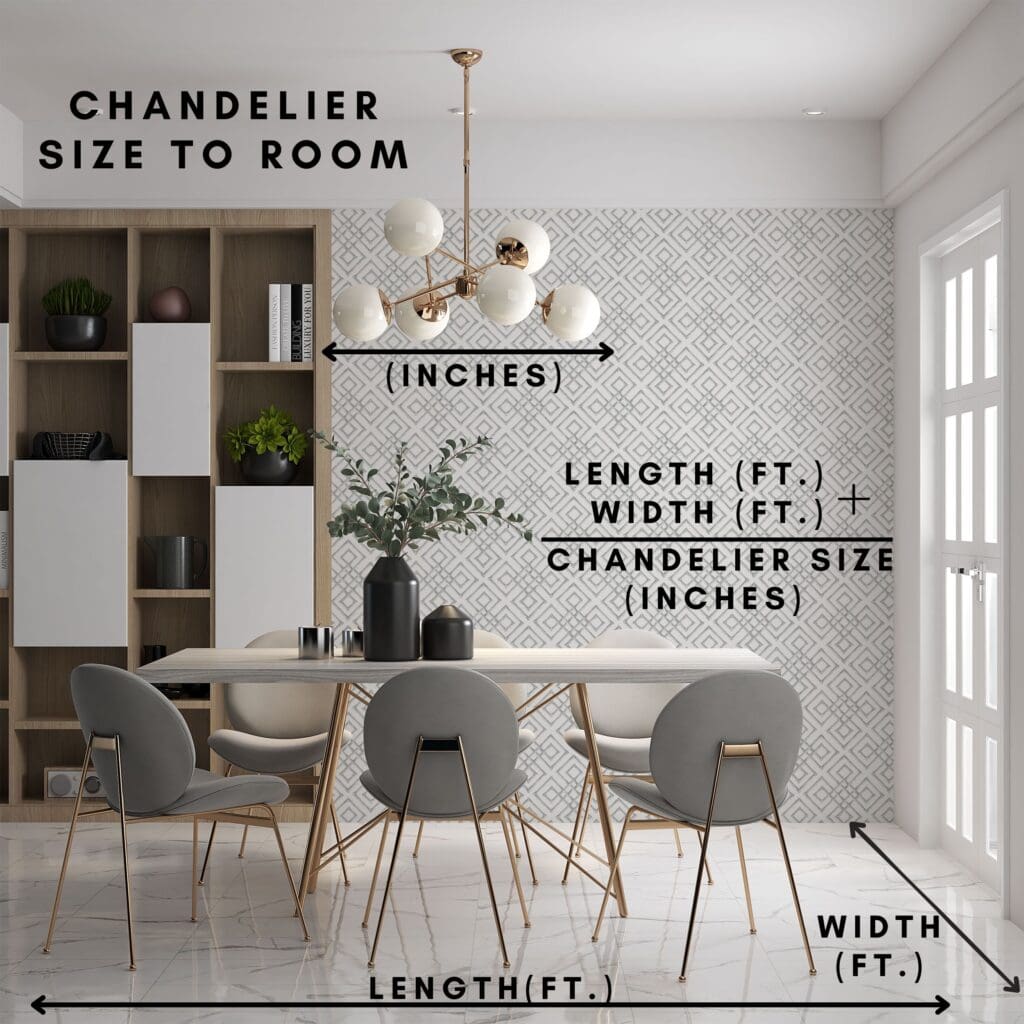
The size of your chandelier is the most important element in choosing a chandelier. You can pick whatever style you like, but if it’s the wrong size, it won’t look good no matter what. Here are my quick and dirty tips on nailing your chandelier size. Check out my full dining room light size guide, complete with photos and handy infographics here.
An easy trick to determine your chandelier size is to measure the length and width of your room in feet, then add those measurements together. Convert that measurement from feet to inches, and that will be the ideal size of your chandelier diameter in proportion to your room size.
For example, if your room is 14 ft. wide by 16 ft. long, (14 +16 = 30), then your chandelier size is generally around 30 inches in diameter.
Dining Room Light Fixture Size To Table
Let’s narrow it down a little more. Consider your table size to the size of your chandelier. A quick and easy rule is that at its largest dimension, your dining room light fixture length should be at least 12 inches less than than the length of your dining table.

Dining Room Light Fixture Height
We’ve got the size, now the eternal design question, “How high do I hang my chandelier?”
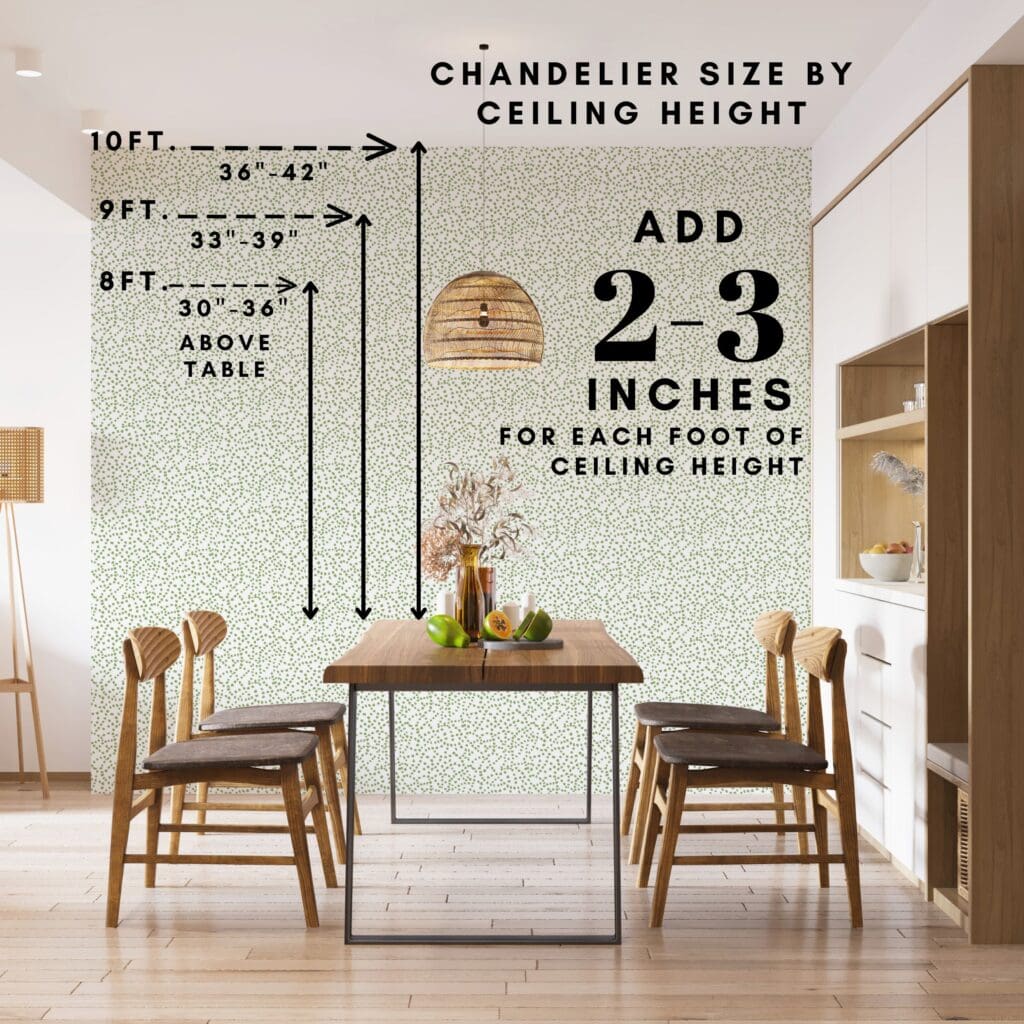
The standard rule for 8 foot ceilings is to hang your fixture 30″ – 36″ above the table top.
If your ceilings are higher than 8 feet, raise your light fixture 2-3 inches higher to look in proportion to your ceiling height. This adjustment ensures that your light fixture isn’t too close to the ceiling, or too low in the room that it blocks your guests’ view across the table.
Keep in mind that these “rules” are more like guidelines. And rules are made to be broken, right? Start with the rule, and work your way from there.
Have a friend hold your light fixture up 30” – 36” above your table, and make sure it feels right for your space. If it looks better higher or lower, no biggie. Just make sure your dad won’t knock his noggin on it when he stands up, or it’s hung so high it looks like it’s hugging the ceiling and scared to come down.
If you have the ceiling height, take advantage of it. Chandeliers really shine when there is some air space between the top of the light fixture and the ceiling. (Was that pun intended? You bet it was.)
This empty space allows your chandelier to cast a pretty glow. If it’s too close to the ceiling the chandelier lights will create “hot spots”, or rings of light that will look unnaturally bright, while the rest of the room will be unfortunately dim.
Dining Room Light Fixture Style
Okay, this is a tough one. There are so many beautiful dining room chandeliers out there that it’s easy to fall into decision paralysis. But you’ve got your handy inspirational photos, and measurements to guide you through.
Let’s throw it back to the advice about not directly matching your furniture, and finding the similar but different cousin. The same trick applies here. Try not to directly match your light fixture style to your table, but find a happy medium that is close to your table style.
Well, what does that mean and how the heck do you do that? Good question. Here are a few things to think about regarding style.
Mix Materials
If you have an all wood table, think about adding a metal frame chandelier. Don’t be afraid to mix metals either. Just because you have polished nickel hardware in your house, does not mean you can’t have a brass or gold chandelier. Your dining room will actually look more layered and interesting.
Throw Shade
Just kidding, or am I? Soften the light from your chandelier and create a glowing ambiance with pretty shades. Drum chandeliers with linen or silk fabrics are simple, versatile, and throw a gorgeous glow. It’s like having a real life photo filter in your dining room. As long as your size is correct, you can put a drum chandelier in almost any style room and it will work.
Pro Tip: If you want to be super extra, you can have shades made from a custom fabric that coordinates with your dining chair or curtain fabric.
Shape Up
Consider what shape light fixture will compliment your room best. If you have a square or round table, a round chandelier would coordinate nicely. If you have a rectangular table you can opt for a more linear chandelier so that all areas of the table are well lit.
Shape also applies to height. If you have a high ceiling, go for a light fixture that has some vertical dimension to it. Hanging a short, squatty fixture in a room with a high ceiling can potentially work if you’re going for a dramatic minimalist effect. Adding a chandelier that is not only proportional in width, but also height will make your room look seamless.
The same goes for low ceilings. You don’t want a tall chandelier with 8 ft. ceilings. It will feel cramped, and just won’t work. For dining rooms with low ceilings, go wider rather than taller.
Two is Better Than One
Who says you can only have one chandelier in your dining room? We’re adults here, and we can do what we want mom! Adding a pair of fixtures is unexpected and gives a cool, modern or transitional vibe.
This look works best with rectangular tables so you have the space to spread them evenly without feeling cramped. Adjust the size of your chandeliers or pendants by around one third to one half smaller to make sure they fit and are not oversized for the table.
Shine Bright Like A Diamond
Traditional rooms just beg for a little sparkle, but you can add some crystal details to almost any space. Think Restoration Hardware. They nailed the glam rustic industrial chic look by marrying thoughtfully placed crystals with rustic design. Crystals help throw the light around the room and act like a beautiful piece of jewelry above your table.
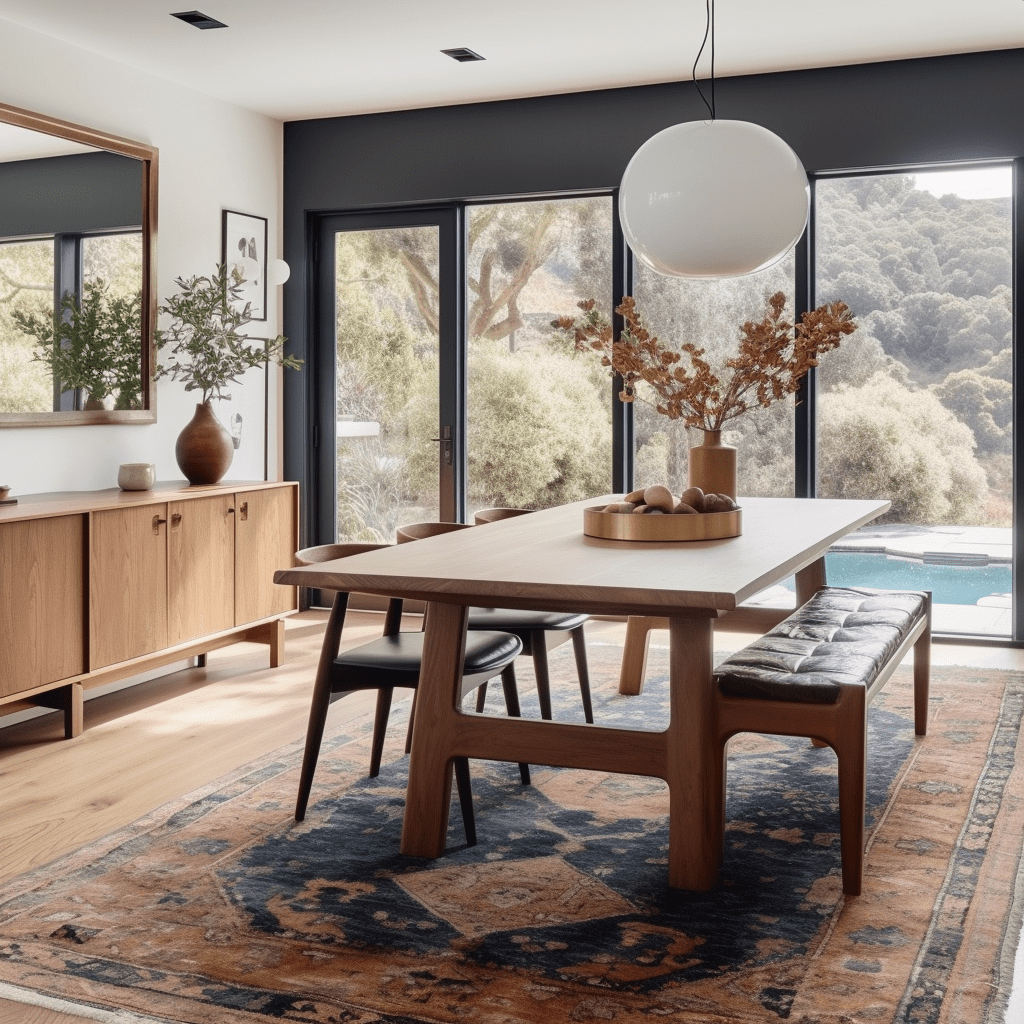
Step 10 – Maximize Your Storage space
Remember your outlet measurements we did all the way back in step 3? Let’s hide those unsightly outlets with a beautiful buffet or cabinet.
Storage pieces do double duty not only as holding places for serving ware, but also display for lamps, artwork, or family pieces.
Think about what you need to store. Do you need drawers to store utensils? Do you have larger items that need to go in a cabinet? Get a general idea of what items you will be using most when you’re entertaining and want to store so they are close at hand.
Buffets are generally 34” high, and 60” long. You may or may not be able to fit that in your space. If you can’t, no worries.
Select a piece that is the appropriate width for your room. If you can, leave a minimum of at least 2 ft. of space on either side of your storage piece so it doesn’t feel cramped. Try to also select a piece that is slightly higher than the 28” – 30” dining table height. Varying the heights of your furniture pieces adds interest so that everything isn’t on the same flat level.
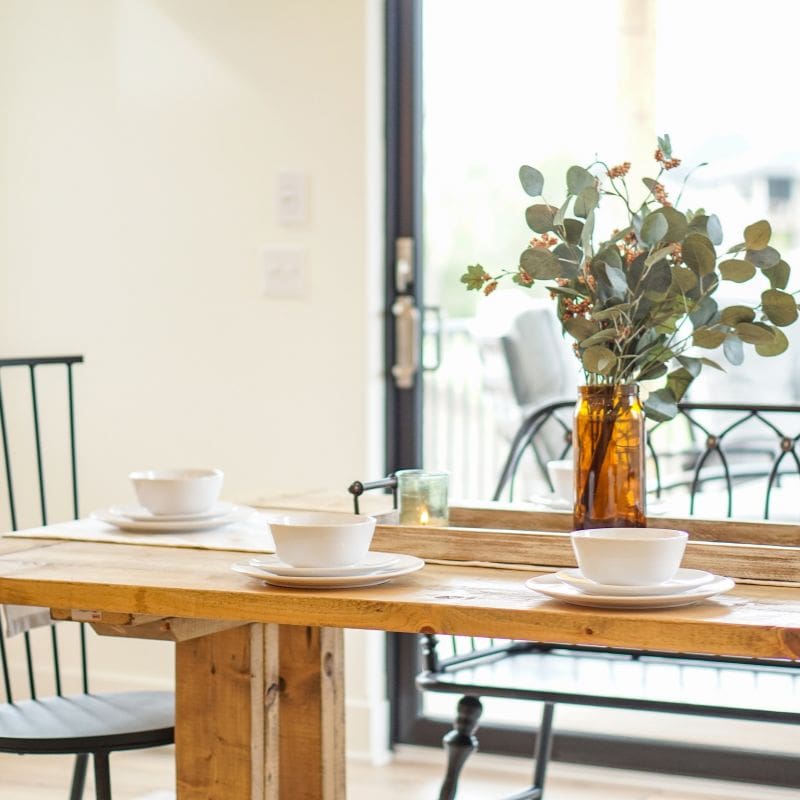
Step 11 – Final Touches With Accent Decor
Oh you are looking so good now! Let’s add the finishing touches with some sophisticated accent decor. Table tops and walls look so sad if left empty. Here are a few suggestions for filling out the room.
Add support lighting to your buffet with a pair of lamps or sconces. Flanking your buffet with additional lighting will add an eye-level light source to the room. This relaxes the eye from relying solely on overhead lighting, and helps fill in any dark holes in the room that the chandelier can’t cover.
Hang a nice sized piece of artwork or mirror between your buffet lamps.
Pro Tip
I like to add one large piece of artwork or a large mirror over buffets. I know family photos and the whole gallery wall thing is popular, but most times it ends up looking cluttered and mismatched. Try opting for one large piece to give a cohesive look with your buffet.
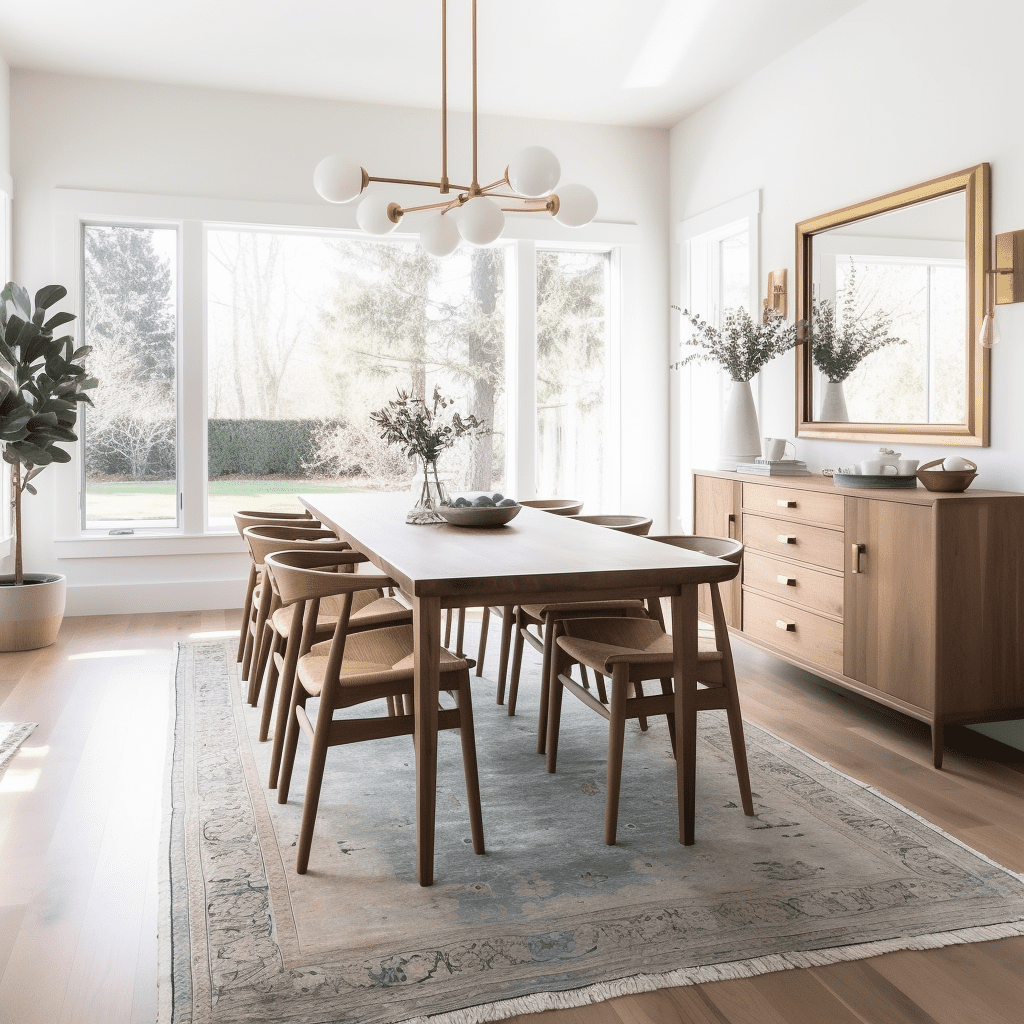
Consider adding a large beautiful bowl or single sculpture on top of the buffet, centered under the artwork or mirror. Think low and long for this item so it takes up space and doesn’t block your artwork or mirror above it.
You can also add a group of items on your buffet if you want a more layered look. Try to avoid pairs. You already have a pair of lamps or sconces flanking the buffet. Adding a second pair of something else will look odd and repetitive.
Pro Tip
When styling decor, use odd numbers. Groups of three items will look like one unit, but have a little more interest than just a single item. Vary the heights of the items within the grouping so you have a tall, medium, and short piece to play with.
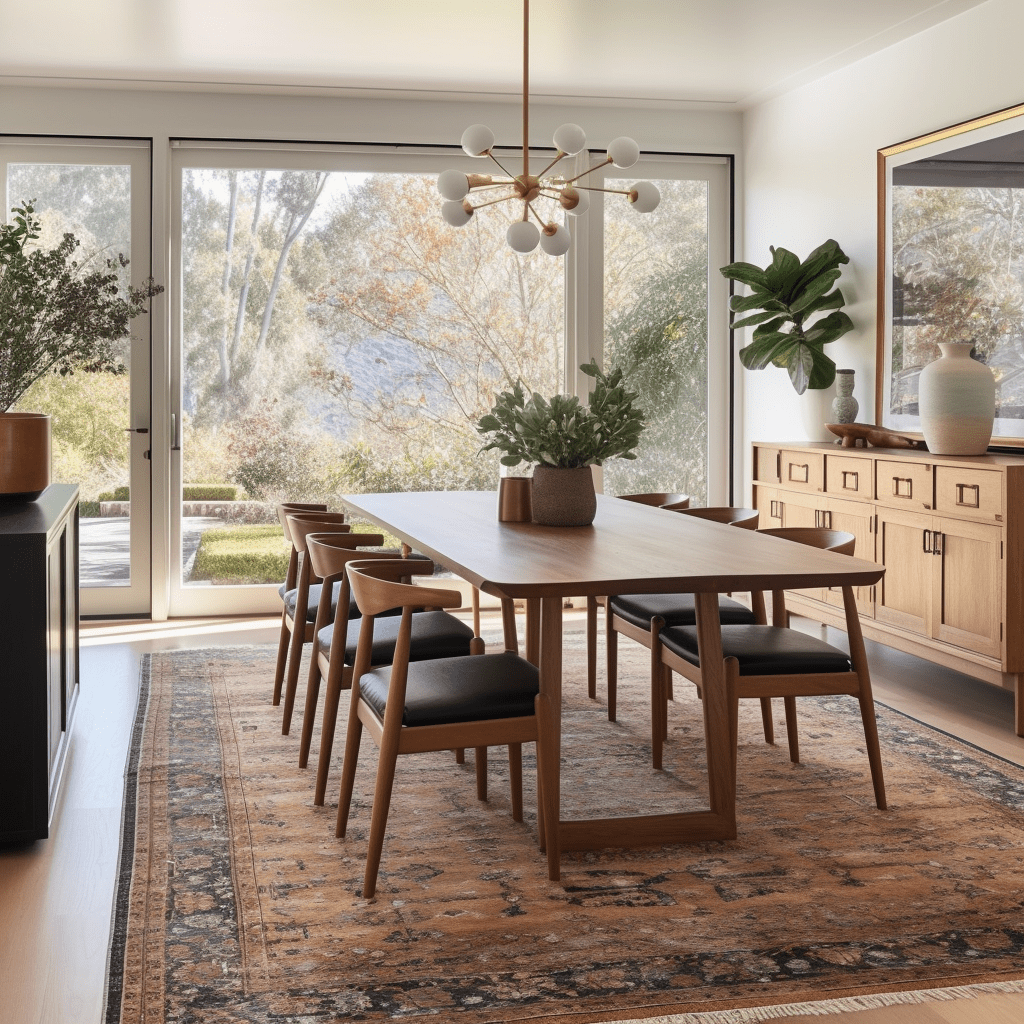
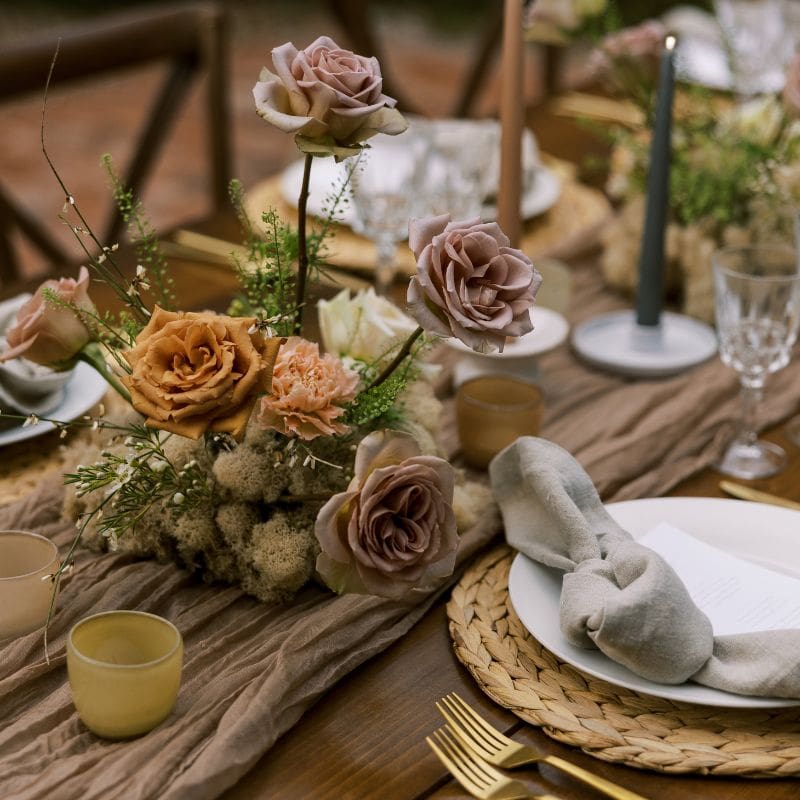
Step 12 – Dress The Table
We can’t just leave your new beautiful table naked, can we? Of course not! While I don’t recommend leaving place settings out 24/7, I do like to add a centerpiece to visually ground the table with something interesting. Your centerpiece should reflect the shape of your table.
If you have a round or square table, a pretty bowl with a little planting in it would do the trick. A pretty, long and low sculptural piece or planter on a rectangular table always looks nice. You could flank the centerpiece with a pair of candlesticks or candelabras for a more traditional look. And if you are really struggling to find that perfect piece, a pretty seasonal floral arrangement will never fail you.
Conclusion
Wow. You made it. Congratulations! I hope by now you have a new found confidence, and a plan to create the dining room of your dreams. These steps are tried, tested, and used by interior designers all over the world. By following these steps, and doing a little prep work ahead of time, you are setting yourself up for assured success and less stress.
I will be adding more in-depth links to each section so be sure to check back frequently for more pro tips or join my email list for weekly updates.

